
How to Use the Screen Recorder on Your iPhone: A Telecom Expert’s Guide
Introduction: Capture the Moment, Capture the Memory
Have you ever wished you could freeze a moment in time with your iPhone? Whether it’s your toddler’s first steps or a surprise birthday toast via Zoom, learning how screen recorder iPhone works can make it easy to hold onto those moments a bit longer. At KeKu, we complement these capabilities with our global communication services.
Why You Might Need to Record Your iPhone Screen

Personal Use: More Than Just Memories
Ever needed to show how an app or device works without a lengthy explanation? How screen recorder iPhone functions simplifies this. A quick video can help friends or family follow along effortlessly.
Professional Use: Keeping It Professional
In the professional sphere, knowing how screen recorder iPhone operates is essential for creating tutorials or capturing webinars. It’s invaluable for feedback and improving your presentations.
Special Mention: Travel and Communication
For travelers, screen recordings help keep rich details of your journeys. Combine this with KeKu’s call features to capture entire conversations recorded video, enriching your travel diaries.
Understanding Your iPhone’s Built-In Screen Recording Capabilities

Step-by-Step Guide to Enabling Screen Recording
First, let’s ensure you know how to screen recorder iPhone:
Go to Settings > Control Center > Customize Controls.
Add Screen Recording to your Control Center.
Now, your iPhone is ready to capture every moment.
Tips for Effective Screen Recording
To maximize the benefits of how screen recorder iPhone works:
Enable Do Not Disturb to avoid interruptions.
Decide on microphone settings based on your recording needs.
Advanced Screen Recording With KeKu Apps
KeKu’s Integration with iOS
Our apps like SideNumber and USA Call Recorder enhance how screen recorder iPhone can be used, especially for those managing personal and business communications simultaneously.
How to Record Calls and Screens Simultaneously
Understanding how to record the screen recorder iPhone along with calls involves using KeKu’s apps to document important discussions and agreements in real-time.
Tips for Managing and Sharing Your Recordings

Storage Solutions
Regularly manage your recordings to maintain your iPhone’s storage efficiency, especially when frequently using how screen recorder iPhone.
Sharing and Privacy
When you record audio share recordings, remember the legal aspects, particularly if the recording involves others.
Troubleshooting Common Issues
Technical Troubleshooting
If your screen recording feature stops, check your storage—it’s a common issue when you don’t know how screen recorder iPhone uses storage.
User Support
If issues arise, KeKu’s customer support is ready to assist with any app or audio recording concerns.
Conclusion: Empower Your Communication

Mastering how to use screen recorder on iPhone with KeKu’s tools can significantly enhance your communication capabilities. Visit KeKu.com and elevate your global interactions.
FAQ

How do I enable Screen Recording?
Whether you’re trying to capture an epic gaming session, create a tutorial, or show a problem you’re encountering, the screen recording option on an iPhone is a super handy feature. Let’s dive into how you can enable and use this feature, ensuring you capture everything happening on your screen.
Step 1: Open the Settings App
Start by opening your iPhone’s Settings app. This is the gear icon typically found on the top of your screen, home screen or in an app folder.
Step 2: Navigate to Control Center
Scroll down and tap on “Control Center.” This area allows you to customize which controls appear when you swipe up from the bottom edge (on iPhone 8 or earlier) or swipe down from the upper-right corner (on iPhone X and later) of your screen.
Step 3: Customize Controls
In the Control Center settings, you will find an option called “Customize Controls.” Tap on this to access the controls you can add, edit to or remove from the Control Center.
Step 4: Add Screen Recording
You’ll see a list of “More Controls” at the bottom, which are not currently included in your Control Center. Find “Screen Recording” and tap the green plus icon (+) next to it. This action will add Screen Recording to the “Include” list at the top, meaning it will now appear in your Control Center.
Step 5: Access the Control Center
To access the Control Center and start recording, do the following based on your iPhone model:
iPhone 8 or earlier: Swipe up from the bottom edge of any screen.
iPhone X or later: Swipe down from the upper-right corner of any screen.
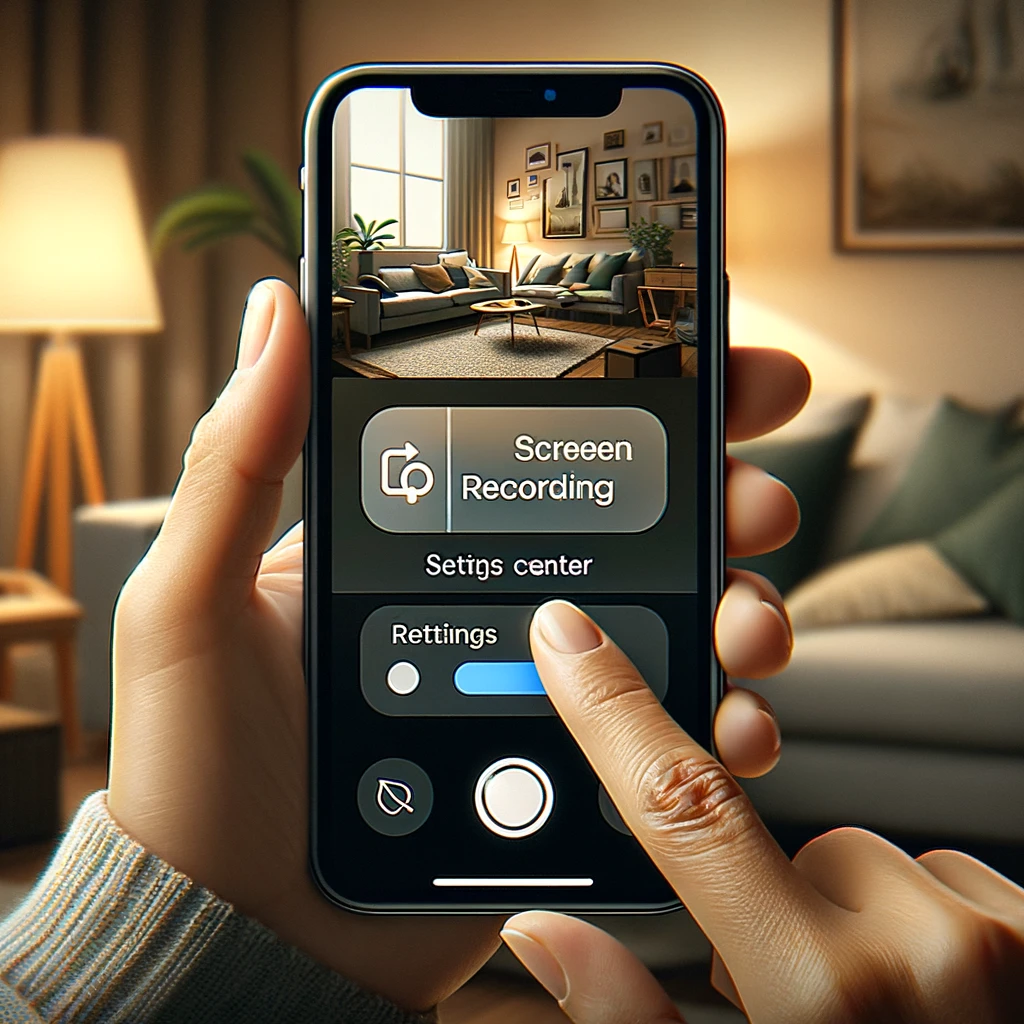
Step 6: Start Recording
You’ll see a new icon that looks like a solid circle inside a thin circular ring. This is the Screen Recording button. Tap it, and you will see a three-second countdown, after which your iPhone will start recording everything on your screen. You can also press deeply on the icon (or long press on older models) to bring up more options, such as turning the microphone on if you want to narrate your screen recording.
Step 7: Stop Recording
To stop recording, open the Control Center again and tap the Screen Recording button. Alternatively, the status bar at the top right corner of your iPhone will turn red while recording; you can tap this red bar and select “Stop” from the dropdown menu. Your video will be saved to the Photos app.
Tips for a Smooth Recording Experience
Ensure Sufficient Storage: Video files can get large. Before starting, ensure you have enough storage space to save the video without issues.
Do Not Disturb: To avoid interruptions during recording, such as calls or notifications, consider turning on “Do Not Disturb” mode.
Audio Settings: If you need to capture audio from your microphone, remember to enable the microphone audio as described in step 6.

Screen recording on the iPhone is a feature that’s incredibly useful for a wide range of purposes, from professional to personal. Whether you’re troubleshooting, demonstrating a process, or just wanting to share something cool, the ability to record your screen is just a few taps away. Happy recording!


